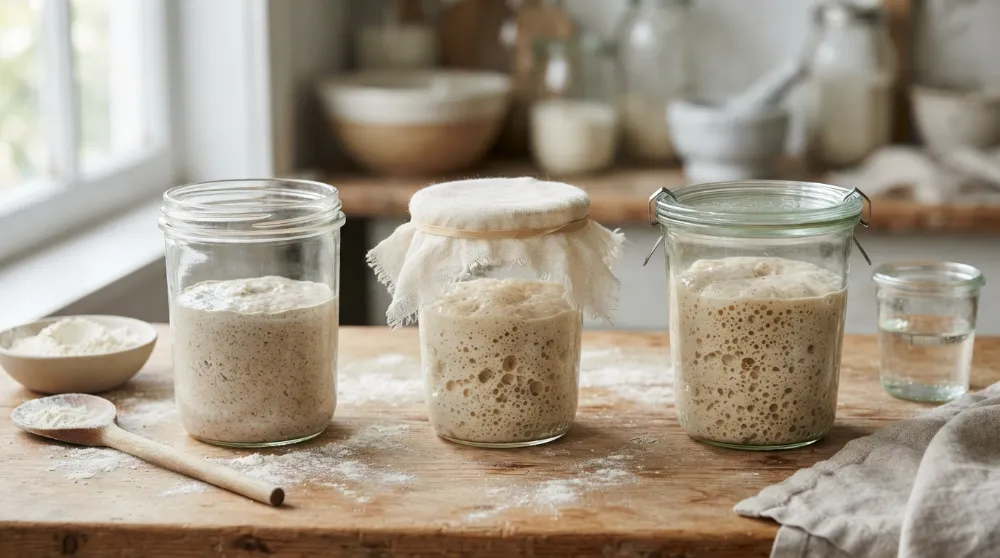

Cultivating your own wild yeast is a transformative culinary journey that connects you to ancient traditions through the simple magic of flour and water. This definitive Beginner Sourdough Starter Guide (Step by Step) will show you exactly how to build a thriving, bubbly culture from scratch in just seven days.
7-Day Artisan Sourdough Starter
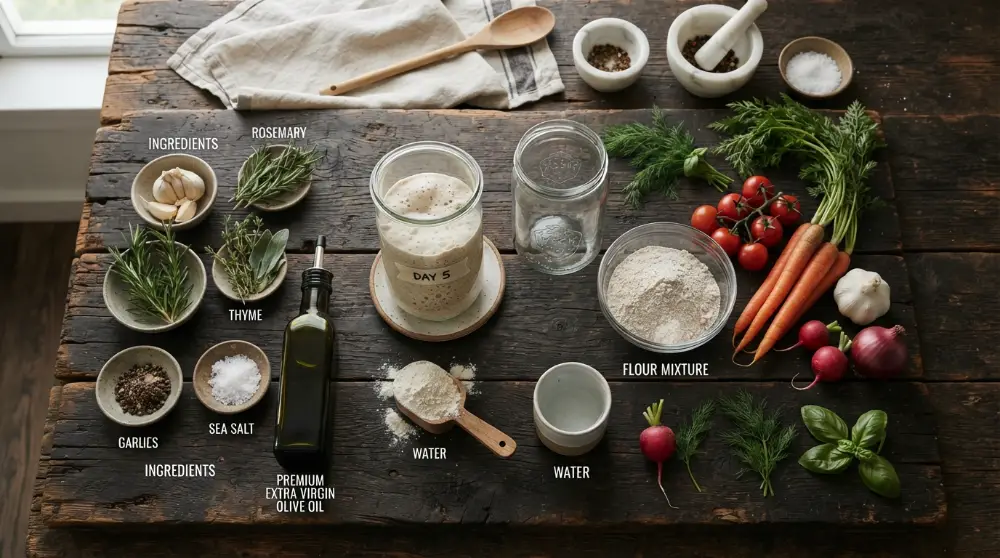
Ingredients
- 1 500g Whole Wheat Flour (for Day 1)
- 2 1000g Unbleached All-Purpose Flour (for feeding)
- 3 Filtered Water (Room Temperature)
Instructions
- 1 DAY 1: Mix 60g whole wheat flour and 60g filtered water in a clean jar. Stir until smooth. Cover loosely and rest in a warm spot for 24 hours.
- 2 DAY 2: Check for bubbles. If none, just stir to aerate. If bubbles appear, leave for another 24 hours.
- 3 DAY 3: Discard half the starter. Add 60g all-purpose flour and 60g filtered water. Mix well.
- 4 DAYS 4-6: Repeat the discard and feed process every 24 hours. The starter should become more active and smell tangy.
- 5 DAY 7: The starter should double in size within 4-6 hours. Perform a float test in water; if it floats, it is ready to bake!
Nutrition Facts
Approximate Nutrition Estimates Per 100g of Starter:
The History and Heritage of Wild Fermentation
The journey of sourdough begins thousands of years ago, long before the invention of commercial yeast packets. Historians trace the roots of this Beginner Sourdough Starter Guide (Step by Step) back to the Ancient Egyptian Empire, roughly between 3700 and 1500 BCE. It is widely believed that sourdough was discovered by accident when a mixture of ground grain and water was left out in the warm Egyptian sun, allowing wild yeast and lactic acid bacteria from the air to colonize the paste. This led to the discovery of leavened bread, a monumental shift in human nutrition and society. Throughout history, these starters were treated as family heirlooms, passed down through generations. During the 1849 California Gold Rush, miners became so synonymous with their starters that they were nicknamed “sourdoughs,” often carrying their starter jars close to their bodies to keep the cultures warm in the harsh Sierra Nevada winters. Understanding this heritage is the first step in appreciating the living organism you are about to create.
Why Sourdough? The Nutritional Revolution
Modern bread is often a victim of speed, utilizing commercial yeasts to produce a loaf in under two hours. However, the slow fermentation process outlined in this Beginner Sourdough Starter Guide (Step by Step) offers profound nutritional benefits. Firstly, the long fermentation period allows lactic acid bacteria to neutralize phytic acid, a compound found in grains that blocks the absorption of essential minerals like calcium, magnesium, and zinc. By breaking down these anti-nutrients, sourdough becomes a more bioavailable source of nutrition. Secondly, the bacteria partially pre-digest the gluten proteins, making sourdough significantly easier on the digestive system for those with mild gluten sensitivities. Additionally, sourdough has a lower Glycemic Index compared to standard white bread, leading to a more stable blood sugar response. It is a natural source of B-vitamins, including Folate and B1, and produces prebiotic fibers that support a healthy gut microbiome.
The Science of Wild Yeast and Lactic Acid Bacteria
At its core, a sourdough starter is a symbiotic culture of bacteria and yeast (SCOBY). Specifically, it is a relationship between wild yeast strains, such as *Saccharomyces exiguus*, and lactic acid bacteria (LAB) like *Lactobacillus sanfranciscensis*. The yeast provides the carbon dioxide needed to make the bread rise, while the LAB produce lactic and acetic acids, which give sourdough its signature tangy flavor and act as a natural preservative against mold. To keep this culture healthy, you need to maintain a balance of temperature, oxygen, and nutrients. For precise temperature control, some bakers use the yogurt setting on the Instant Pot Duo 7-in-1 Electric Pressure Cooker (6-Qt), which provides a steady, low-heat environment perfect for encouraging bacterial growth during the early stages of a starter’s life.
Essential Tools for Sourdough Success
While sourdough only requires flour and water, having the right equipment ensures consistency. You will need a clean glass jar with a wide mouth to allow for easy stirring and cleaning. A digital kitchen scale is non-negotiable for the Beginner Sourdough Starter Guide (Step by Step), as measuring by volume (cups) is too imprecise for the delicate balance of hydration. To prep your savory mix-ins later, the Hamilton Beach Electric Vegetable Chopper is excellent for finely dicing aromatics without bruising them. For those looking to blend fruit-based liquids for flavor variations, the NutriBullet 600W Personal Blender or the Ninja NutriPlus Personal Blender can turn fresh berries or apples into smooth, fermentable juices that add a unique dimension to your dough.
Detailed Day-by-Day Walkthrough
Day 1: The Foundation
Start with a high-nutrient flour like whole wheat or rye. These flours contain more of the grain’s outer bran, which is where the most wild yeast resides. Mix 60 grams of flour with 60 grams of filtered water. Tap water often contains chlorine, which can kill the very bacteria you are trying to cultivate, so stick to filtered or spring water. Use a wooden or plastic spoon to stir until no dry clumps remain.
Day 2: The Awakening
At this stage, you might see small bubbles, or it might look completely dormant. This is normal. Do not feed it today. Simply stir the mixture vigorously for a minute to introduce oxygen, which helps the yeast multiply. If you are in a cold climate, placing the jar near your Keurig K-Express Coffee Maker after it has been used can provide just enough ambient warmth to kickstart the fermentation.
Day 3-5: The Feeding Cycle
Now the real work begins. You must discard half of your starter before every feeding. If you don’t, the volume will quickly become unmanageable and you won’t be able to provide enough fresh flour to keep the growing population of yeast fed. Discard down to 60g, then add 60g of unbleached all-purpose flour and 60g of water. You should notice the smell changing from a raw flour scent to something more acidic, similar to Greek yogurt or vinegar.
Day 6-7: Achieving Maturity
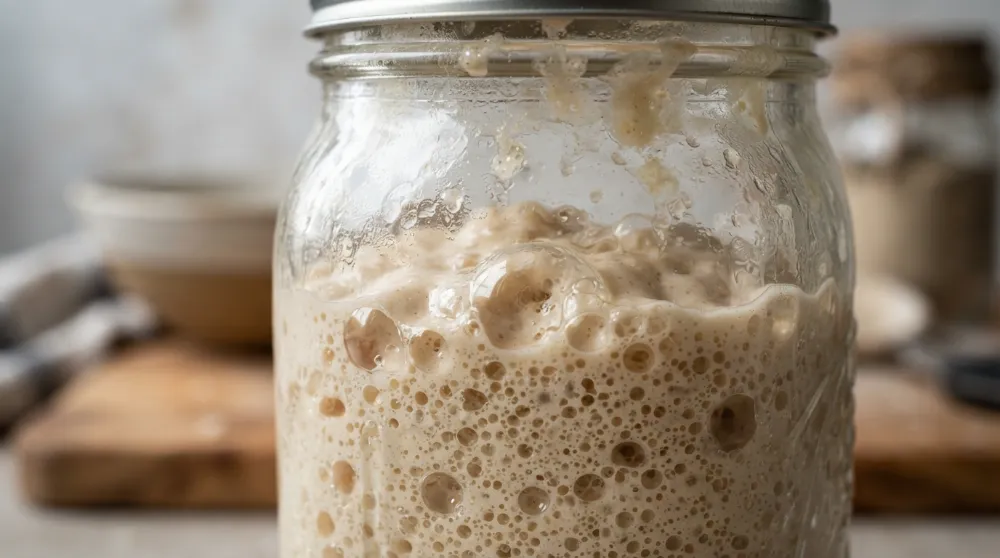
By now, your starter should be rising and falling predictably. It should double in volume within a few hours of being fed. If it doesn’t quite float yet, don’t worry, some starters take up to 10 or 14 days depending on the environment. Once it is active, you can use it to bake incredible loaves or even artisanal snacks. For example, you can use the Cosori 9-in-1 TurboBlaze Air Fryer 6 Qt or the Instant Vortex 6-Quart XL Air Fryer to make sourdough discard crackers or croutons with a PFAS-free ceramic coating for healthy cooking.
Troubleshooting and Maintenance
One common issue beginners face is “hooch,” a dark liquid that forms on top of the starter. This is simply a sign that your starter is hungry and has produced a byproduct of alcohol (which we don’t want in the final bread, but is natural in the jar). Simply pour it off and feed your starter more frequently. If you see fuzzy mold, however, you must discard the whole batch and start over. To store your starter long-term without daily feedings, keep it in the refrigerator and feed it once a week. When you are ready to bake, take it out 24 hours in advance and feed it twice to wake it up.
Professional Flavor Variations (No Pork, No Alcohol)
Once you have mastered the basic Beginner Sourdough Starter Guide (Step by Step), you can begin experimenting with flavors. For a savory twist, try a **Roasted Garlic and Rosemary** loaf. Roast the garlic until soft and fold it in during the final shaping. Another fantastic option is **Sun-dried Tomato and Beef Pepperoni**, which provides a rich, meaty flavor without any pork products. If you prefer a slow-cooked approach for your fillings, the Crock-Pot 7-Qt Oval Slow Cooker is perfect for preparing tender beef briskets that can be shredded and folded into the dough. For those who enjoy visual aesthetics, the Ninja Crispi 4-in-1 Glass Air Fryer allows you to monitor the browning of sourdough-based snacks with ease.
Using Professional Liquid Replacements
To take your sourdough to the next level, consider replacing the water in your final dough recipe with other flavorful liquids. **Beef or Chicken Broth** adds an incredible savory depth that water cannot match. If you want a sweeter profile for a fruit and nut sourdough, use **Apple or Grape Juice**. These sugars will speed up the fermentation and create a beautifully caramelized crust. A tablespoon of **Balsamic Vinegar** can also be added to mimic the deep tang of a long-aged starter, providing a complex flavor profile even if your starter is relatively young. By following this Beginner Sourdough Starter Guide (Step by Step) and utilizing these expert tips, you will be well on your way to baking bakery-quality bread in your own kitchen.